
◉
Pinpoint detection
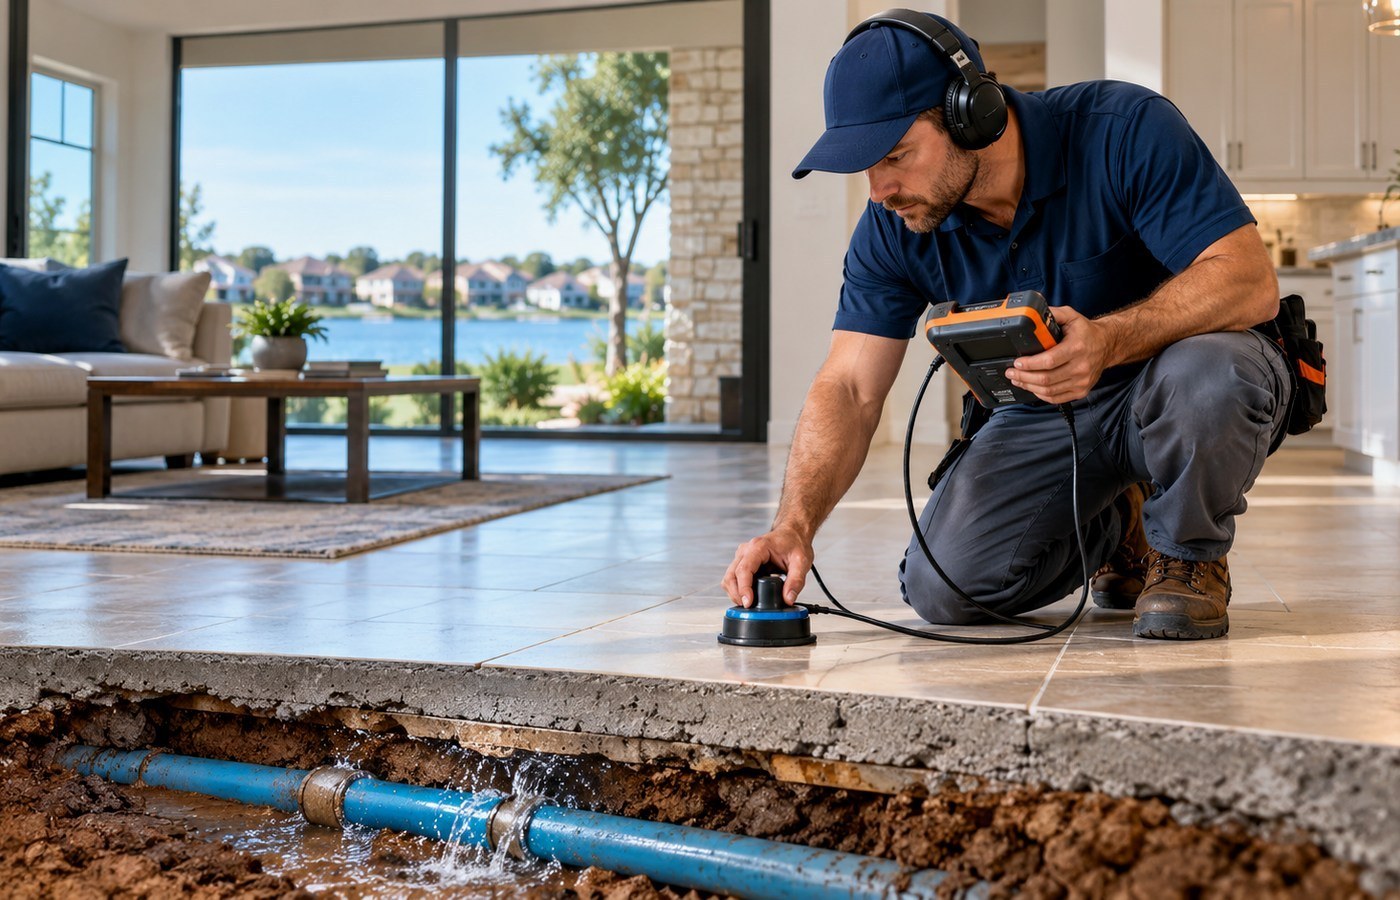
Pressure testing and acoustic listening confirm whether the problem is under the slab and where it is, before any concrete is opened.
Detection details →Slab leak repair guidance for Shell Beach, a lakeside pocket of Little Elm, TX on Lake Lewisville. Homes near the water live with more ground moisture and, in places, older plumbing stock. This page covers how lake-adjacent conditions and home age shape the investigation.
Shell Beach sits along the Lake Lewisville shoreline, one of the older lakeside pockets in Little Elm. Ground moisture can run higher near the water, and some homes carry older plumbing materials. Neither fact diagnoses your home, but both are useful background when symptoms are evaluated.
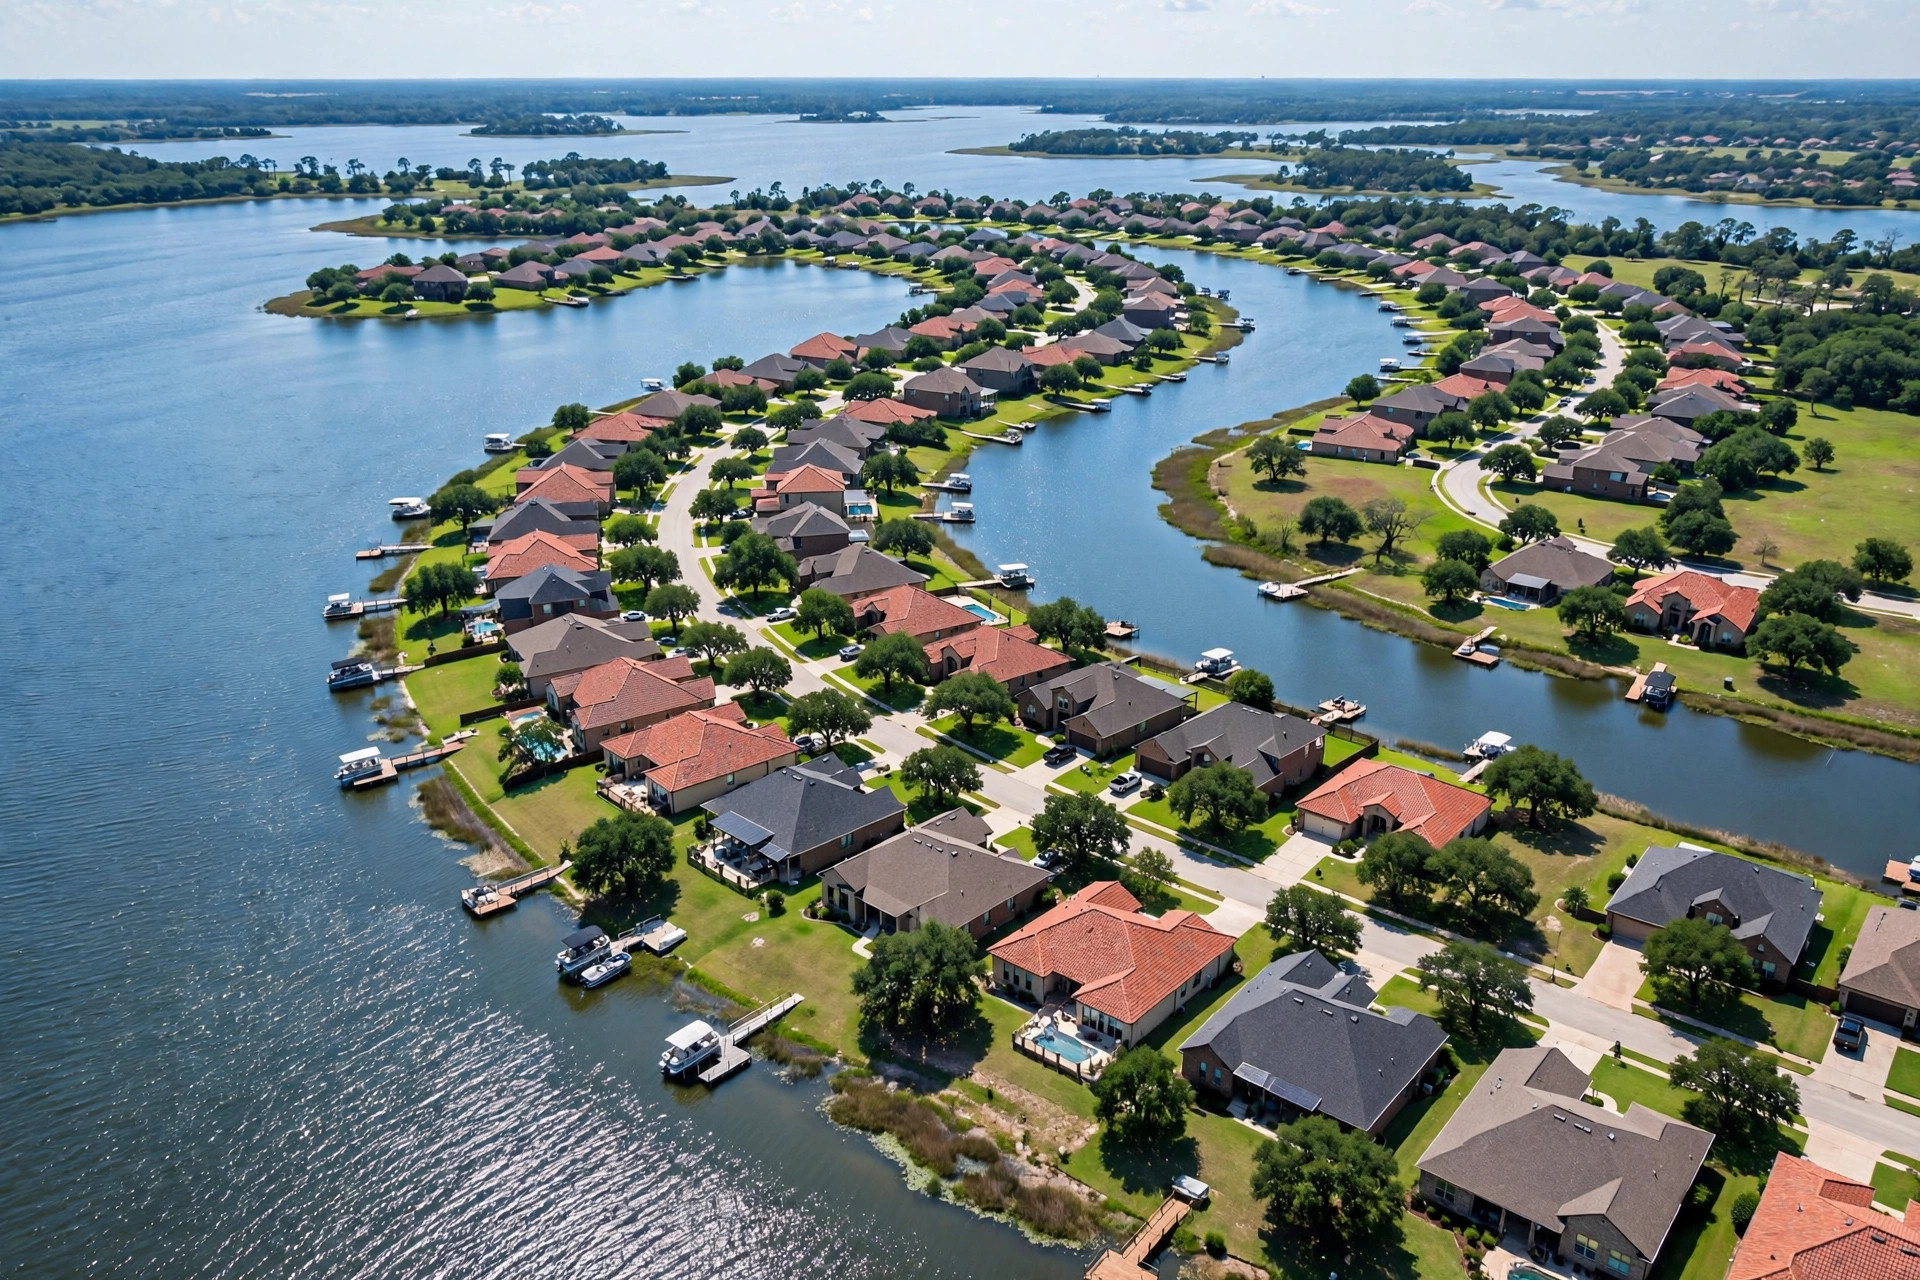
Proximity to the lake does not cause a slab leak by itself. What it changes is the ground around the home: higher ambient moisture can mask a slow leak and make a damp patch harder to read. The leak itself still comes from the pipe, the joints and the site conditions. Detection tools decide whether the slab is involved.
Near the lake, damp soil by the foundation can simply be ground water, irrigation or drainage doing its normal thing. A slab leak looks similar from the outside. That is why technicians pressure-test the lines and listen for the leak signature instead of guessing from wet dirt. The meter test at home is a good first filter.
Older plumbing materials can change where the technician looks first, since age-related pinhole failures cluster at joints and certain materials. But the method stays the same: pressure testing, acoustic listening and tracing to confirm and pinpoint. Knowing the home age and pipe material just makes the investigation smarter.
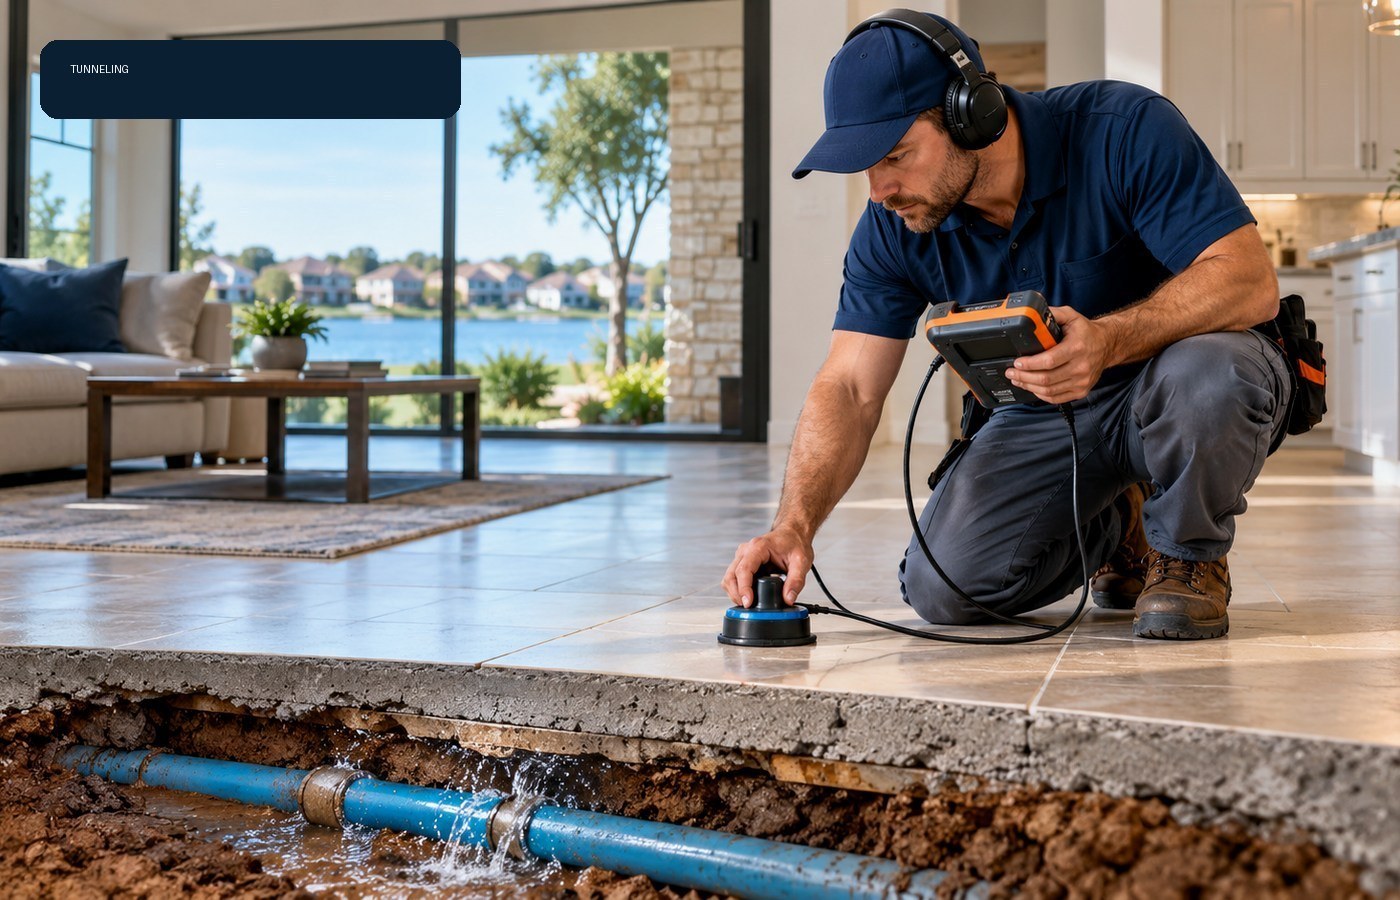
Tunneling can be a good fit when the leak sits near the slab edge, because it avoids cutting interior floors. Near the lake, soil conditions at the slab edge are part of the decision, so the technician evaluates the actual soil before recommending it. Like every repair choice, it follows the confirmed leak location.
Run the meter test with everything off, check toilets and outdoor spigots, and note where you see or hear the symptoms: which room, which wall, what time of day. Photograph the meter reading and any damp areas. Then call +1 972-945-2624. Those details make the first conversation and the visit far more useful.
There is no published statistic linking lake proximity to leak rates, so treat it as context rather than a diagnosis. Soil moisture near the water can vary more, which adds one more source of soil movement around the foundation. The investigation still starts at the specific home and its symptoms.
There is no published per-neighborhood leak rate, so any claim about how common they are here would be a guess. What matters more is the specific home: its foundation type, the age and material of the plumbing, and the soil and moisture around it. Watch for the signs and investigate the symptoms rather than the neighborhood name.
It depends on the path chosen after detection. A direct spot repair opens the slab at the leak point, tunneling reaches the pipe from the slab edge, and rerouting runs a new line through walls or the attic so the slab stays closed. The comparison happens once the leak is confirmed and located.
Yes, that is the point of the detection visit. Pressure testing, acoustic listening, thermal imaging, and line tracing locate the problem without opening the slab. Concrete is only opened afterward, for the repair path chosen from the evidence.
Near the lake, soil can hold moisture more consistently, which cuts both ways. A damp patch by the foundation may just be lake-side ground water, but it can also mask a slow slab leak that would show up sooner on drier ground. That is why an investigation leans on pressure testing and listening rather than on visible dampness alone.
Older homes in the area may still have original plumbing materials, and age is one of the honest variables in any slab leak conversation. Older copper or galvanized sections can develop pinhole failures, especially at joints. A technician who knows the home age and pipe material will check those weak points with extra care.
The investigation usually starts with pressure tests and acoustic listening to confirm the leak is under the slab and to pinpoint it. From there the repair is compared for the spot: direct repair through the slab, tunneling from the edge so floors stay intact, or rerouting a new line and abandoning the failed run.
Detection should come first. These are the main ways a confirmed under-slab leak can be handled, depending on the leak location and the home.
Pressure testing and acoustic listening confirm whether the problem is under the slab and where it is, before any concrete is opened.
Detection details →Access from outside the slab edge reaches the pipe run without cutting interior floors. It suits some leak locations and soil conditions.
How tunneling works →A new line runs through walls, the attic or above the slab so the failed under-slab section is abandoned. Finished spaces still need some work.
When rerouting fits →Most homes in Little Elm are built on concrete slab foundations, with water and sewer lines running beneath or through the slab. The clay soil common across North Texas expands when it takes on water and shrinks as it dries, and that slow seasonal movement can stress buried pipe runs over time. Normal aging of plumbing materials, small shifts around the foundation, and the occasional weak joint complete the usual picture behind under-slab leaks.
Shell Beach sits close to Lake Lewisville, where soil moisture can vary more than in neighborhoods farther from the water. Higher moisture near the shore and seasonal changes around the lake can keep the surrounding soil in motion longer, which is one more reason the specific home and its symptoms deserve the attention rather than the neighborhood name alone.


Every investigation in Shell Beach starts the same way: confirm whether the leak is actually under the slab before any concrete is touched. The methods are combined based on the symptoms, and the findings come back as a documented report with photos, so the repair plan is built on evidence rather than guesswork.
With the leak confirmed and located, the repair choice compares a direct spot repair through the slab at the leak point, tunneling in from the slab edge to reach the pipe, or rerouting a new line through walls or the attic so the failed under-slab section is abandoned. Each path changes the disruption pattern, the finished work, and the timeline, so the comparison is made for the specific home, not picked from a menu.
Repair options →No published price average fits every home in Shell Beach, and any number given before detection is a guess. What moves the cost up or down is concrete and specific: where the leak sits along the pipe run, how deep the line is, what floor finish covers the access point, whether tunneling or rerouting fits the home better than a direct opening, and how much restoration the finished work needs. Lakeside homes sometimes add moisture-related soil movement to the wear picture, which is one more reason the diagnosis starts at the specific property. The honest way to get a number is detection first, then a written scope you can compare.
A confirmed leak location, photos, and a written scope turn a guess into a number you can actually compare. Start with the investigation, not the invoice: call +1 972-945-2624.
1. Shut off the main valve. It is usually near the meter or where the line enters the home; turning it off stops the flow.
2. Check the water meter. With everything off, watch the dial for a few minutes. Movement means water is still leaving the system.
3. Note what you see and hear. Warm spots, damp areas, the sound of running water, and when it started all help the investigation.
4. Do not dig or open anything. Guessing at the location usually costs more than the detection visit.
5. Call for the next step. Call +1 972-945-2624 and describe the symptoms.
Call the local phone line for the next diagnostic or service-routing step.