
◉
Pinpoint detection
Pressure testing and acoustic listening confirm whether the problem is under the slab and where it is, before any concrete is opened.
Detection details →Slab leak repair guidance for Sunset Place, a townhouse community in Little Elm, TX. Townhomes share walls and often share similar layouts, but each unit still gets its own diagnosis: the slab, the pipe runs and the symptoms belong to the specific unit.
Sunset Place is a townhouse community, which means shared walls, compact footprints and layouts that often repeat across units. Repeat layouts can make an investigation faster, but they do not make your leak your neighbor's leak. Each unit keeps its own meter, its own shutoff and its own pipe story.

Sound travels through shared walls, so hearing alone cannot assign the leak. Check your water meter with everything off: if it moves, the leak is on your pressurized side. If your meter is still and the sound continues, it may be the neighbor's unit. That simple test is the honest way to start.
They can. Repeating layouts help a technician predict where lines enter the unit and how they reach fixtures, which speeds up the mapping. But compact units pack plumbing into tight spots, and shared-wall sound can mislead the ear. The tools still do the confirming at your address.
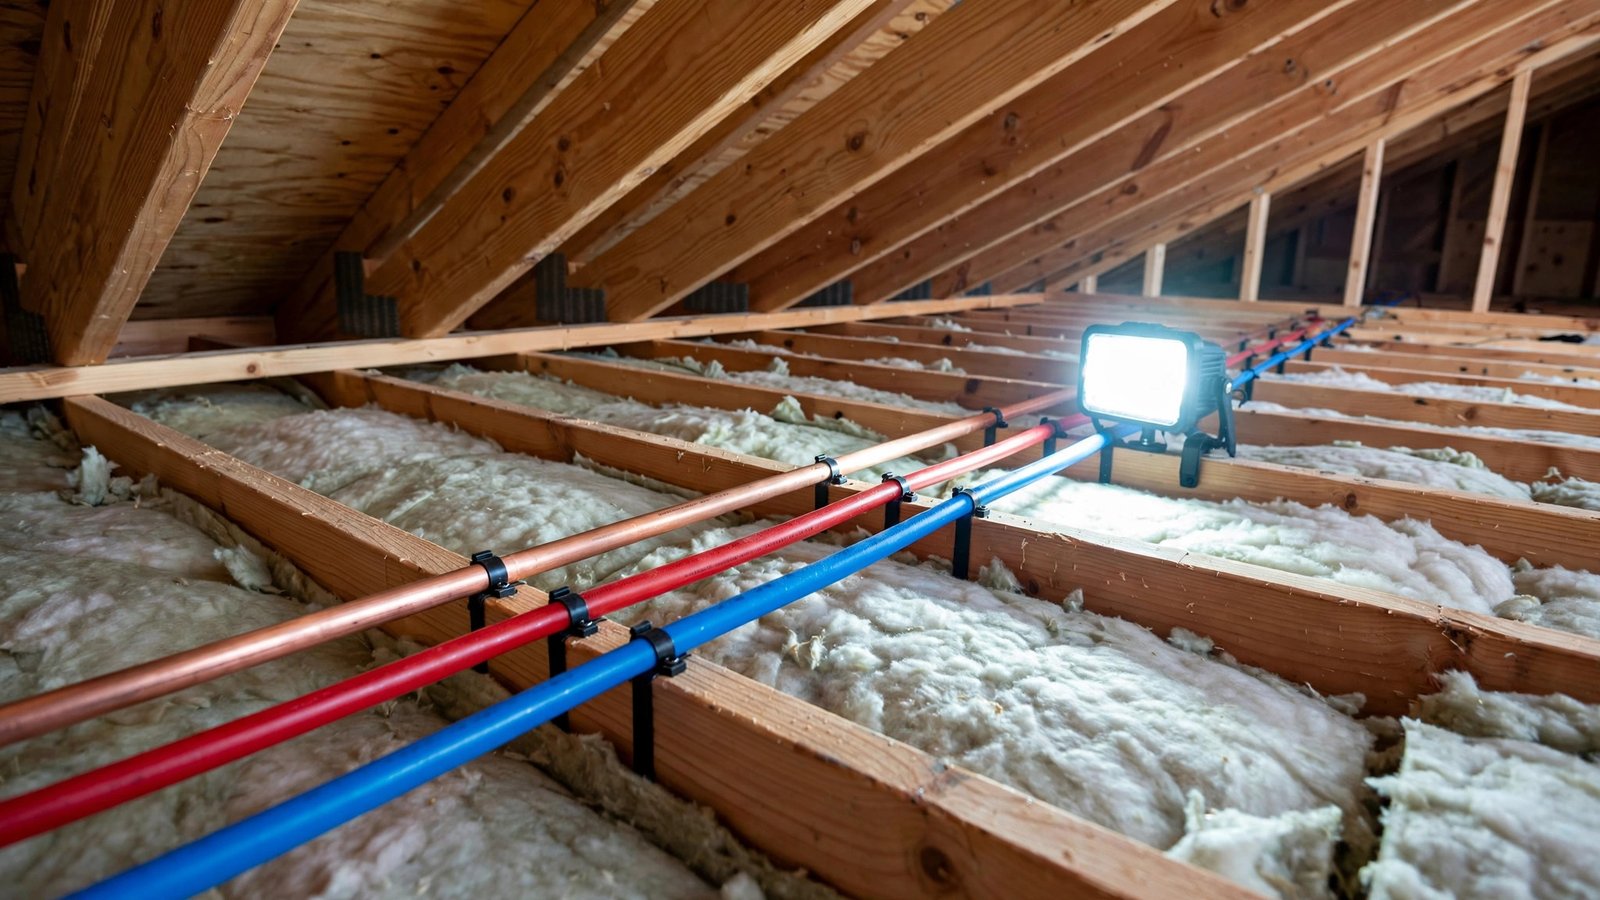
It is often discussed because it avoids cutting into the slab and shared-floor areas. A new line through the attic or walls lets the failed under-slab section be abandoned. It still needs finished-space work and a sensible route for the unit. Detection comes first, then the options are compared.
Start with the meter test and check outdoor spigots, hose bibs and irrigation near the patio. Dampness at the slab edge can come from drainage or sprinklers, not just pipes. If the meter moves with everything off, a detection visit can confirm whether the leak is under the slab or in a reachable line.
If the community has a homeowners association, it is reasonable to check its rules about repairs and shared walls before major work begins. The leak investigation itself belongs to the unit owner. A quick look at the HOA documents clarifies responsibility and any approval steps, which avoids surprises mid-repair.
Most HOAs maintain common areas while interior plumbing belongs to the homeowner, but townhome documents vary and shared-wall lines can be a gray area. Check the HOA declaration before assuming, and bring the question to the first call so detection can be planned around it.
There is no published per-neighborhood leak rate, so any claim about how common they are here would be a guess. What matters more is the specific home: its foundation type, the age and material of the plumbing, and the soil and moisture around it. Watch for the signs and investigate the symptoms rather than the neighborhood name.
It depends on the path chosen after detection. A direct spot repair opens the slab at the leak point, tunneling reaches the pipe from the slab edge, and rerouting runs a new line through walls or the attic so the slab stays closed. The comparison happens once the leak is confirmed and located.
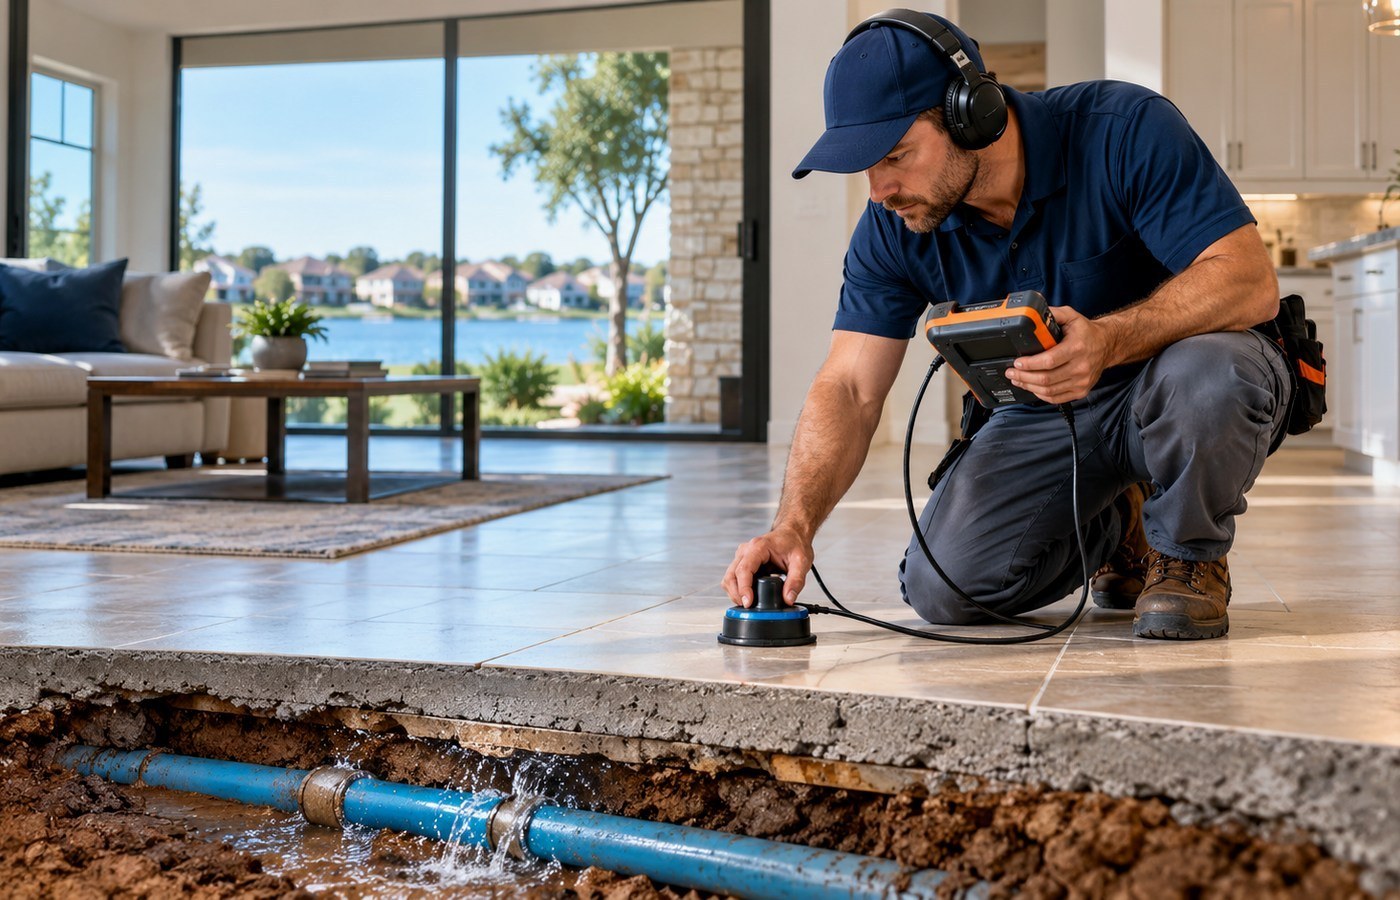
Yes, that is the point of the detection visit. Pressure testing, acoustic listening, thermal imaging, and line tracing locate the problem without opening the slab. Concrete is only opened afterward, for the repair path chosen from the evidence.
In a townhouse, sound travels. Running-water noises or damp spots near a shared wall do not automatically mean the leak is in your unit, and they do not automatically mean it is the neighbor's either. The meter test settles it: if your meter moves with everything off, the leak is on your side.
Townhouse layouts often repeat, which helps a technician map the likely pipe runs faster, including where lines enter the unit and how they reach the water heater. But compact footprints also mean leaks can surface in tight spaces: under a downstairs bath, along a party wall or at the slab edge behind a patio.
Rerouting is a common conversation in townhomes because running a new line through the attic or walls can avoid cutting into a shared slab area. It is not always the answer: finished spaces still need work, and the route has to suit the unit layout. The investigation confirms the leak location first.
Detection should come first. These are the main ways a confirmed under-slab leak can be handled, depending on the leak location and the home.
Pressure testing and acoustic listening confirm whether the problem is under the slab and where it is, before any concrete is opened.
Detection details →Access from outside the slab edge reaches the pipe run without cutting interior floors. It suits some leak locations and soil conditions.
How tunneling works →A new line runs through walls, the attic or above the slab so the failed under-slab section is abandoned. Finished spaces still need some work.
When rerouting fits →Most homes in Little Elm are built on concrete slab foundations, with water and sewer lines running beneath or through the slab. The clay soil common across North Texas expands when it takes on water and shrinks as it dries, and that slow seasonal movement can stress buried pipe runs over time. Normal aging of plumbing materials, small shifts around the foundation, and the occasional weak joint complete the usual picture behind under-slab leaks.
Sunset Place is a townhouse community, so homes share walls and sit on compact slab footprints. A leak under one unit can sometimes show symptoms next door, and repair access has to respect the shared structure, which is why the HOA documents and the specific unit layout are part of the first conversation.

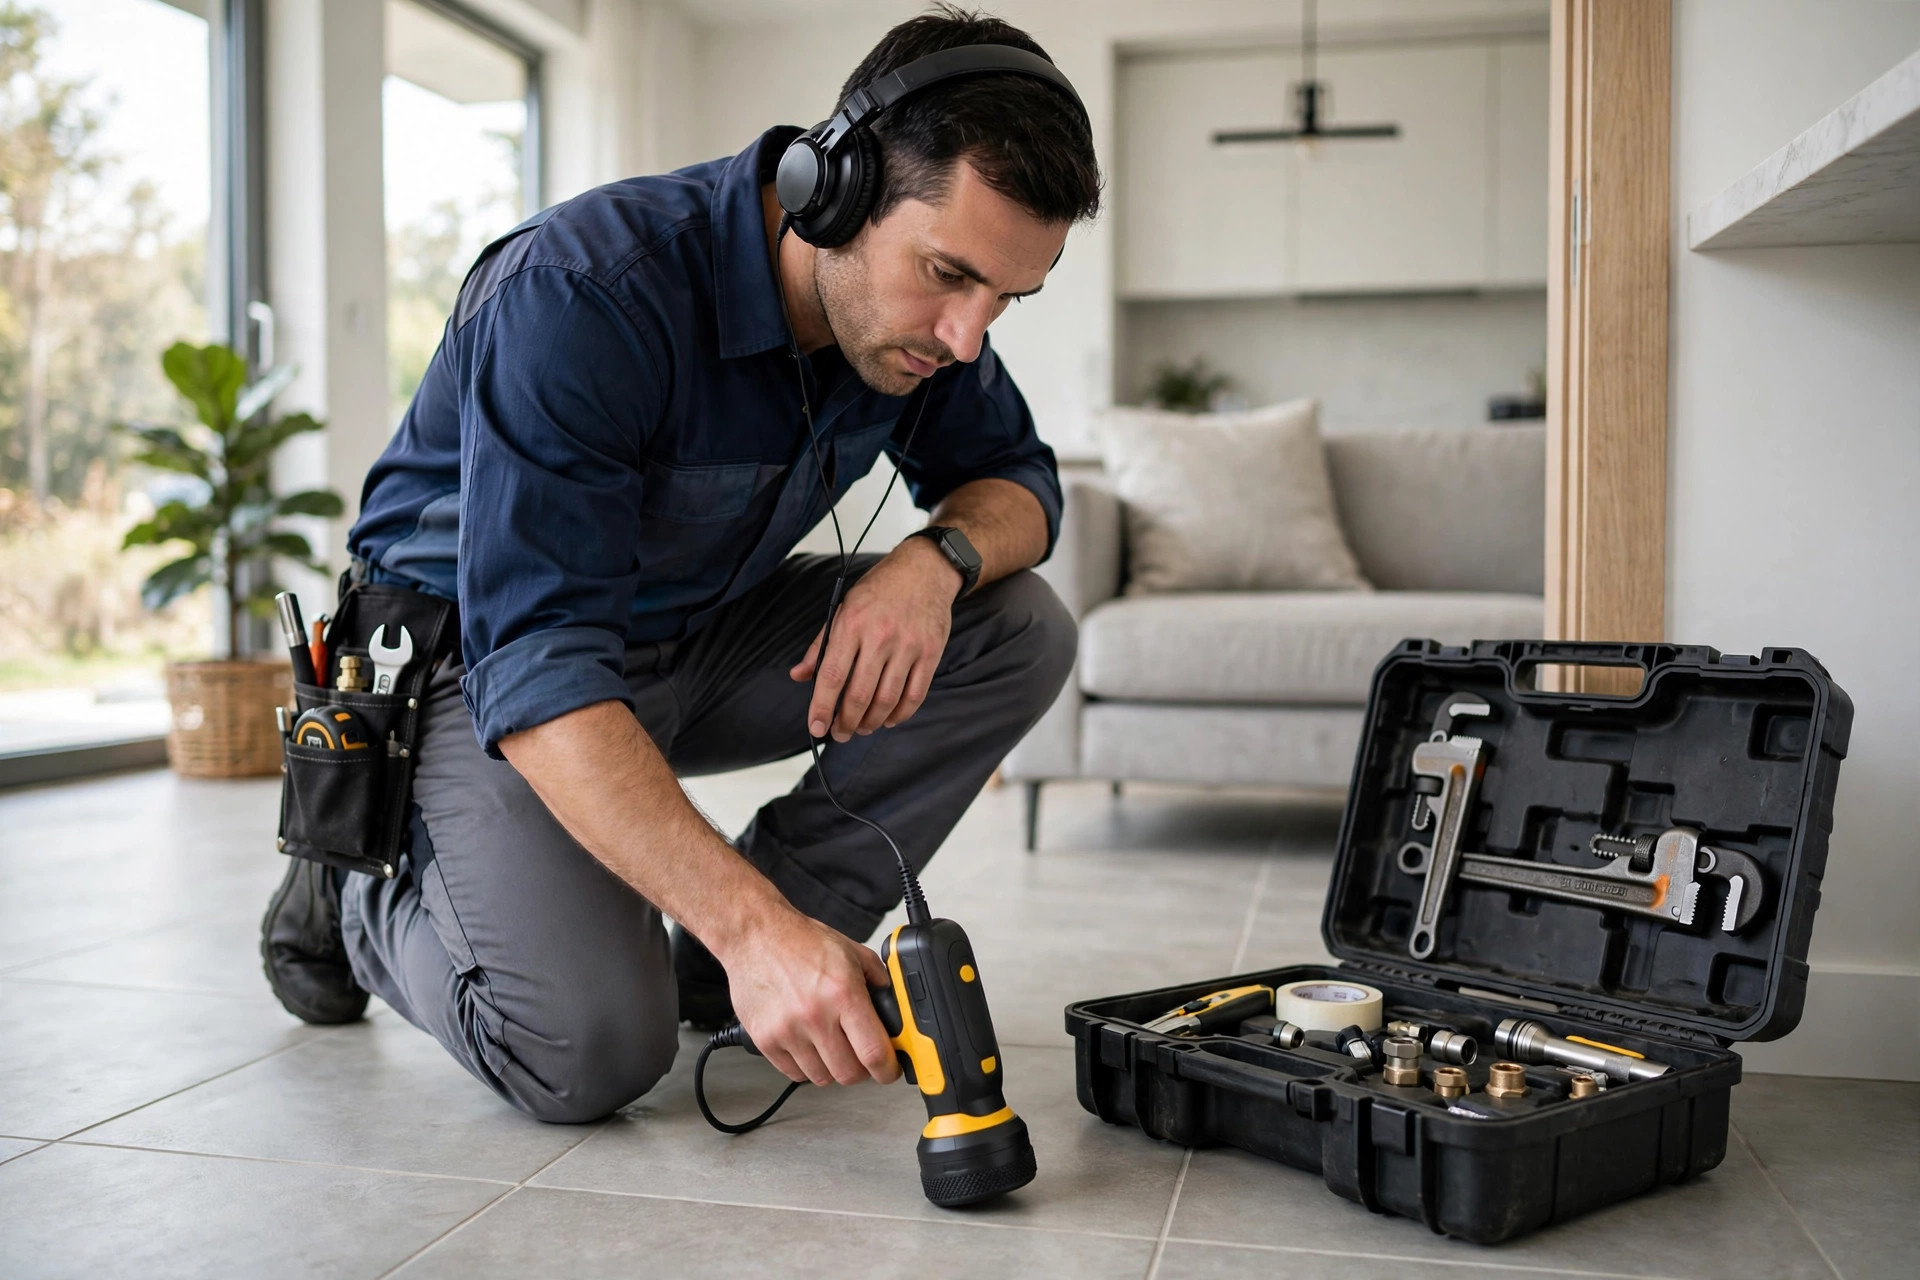
Every investigation in Sunset Place starts the same way: confirm whether the leak is actually under the slab before any concrete is touched. The methods are combined based on the symptoms, and the findings come back as a documented report with photos, so the repair plan is built on evidence rather than guesswork.
With the leak confirmed and located, the repair choice compares a direct spot repair through the slab at the leak point, tunneling in from the slab edge to reach the pipe, or rerouting a new line through walls or the attic so the failed under-slab section is abandoned. Each path changes the disruption pattern, the finished work, and the timeline, so the comparison is made for the specific home, not picked from a menu. Shared walls and compact footprints mean access planning in Sunset Place has to respect the neighboring unit, another reason detection precision matters.
Repair options →No published price average fits every home in Sunset Place, and any number given before detection is a guess. What moves the cost up or down is concrete and specific: where the leak sits along the pipe run, how deep the line is, what floor finish covers the access point, whether tunneling or rerouting fits the home better than a direct opening, and how much restoration the finished work needs. Townhome layouts can shorten pipe runs, which sometimes simplifies access, while shared-wall considerations add planning that a standalone home skips. The honest way to get a number is detection first, then a written scope you can compare.
A confirmed leak location, photos, and a written scope turn a guess into a number you can actually compare. Start with the investigation, not the invoice: call +1 972-945-2624.
1. Shut off the main valve. It is usually near the meter or where the line enters the home; turning it off stops the flow.
2. Check the water meter. With everything off, watch the dial for a few minutes. Movement means water is still leaving the system.
3. Note what you see and hear. Warm spots, damp areas, the sound of running water, and when it started all help the investigation.
4. Do not dig or open anything. Guessing at the location usually costs more than the detection visit.
5. Call for the next step. Call +1 972-945-2624 and describe the symptoms.
Call the local phone line for the next diagnostic or service-routing step.